Create/Edit File Processing Rules
Each asset in the Asset Manager system includes multiple files that can be downloaded by users. While every asset contains a basic set of four files (Master, Preview, Thumbnail, Mini Thumbnail), users with necessary privileges have the ability to create processing rules in order to include additional asset file variants.
Create a New Processing Rule
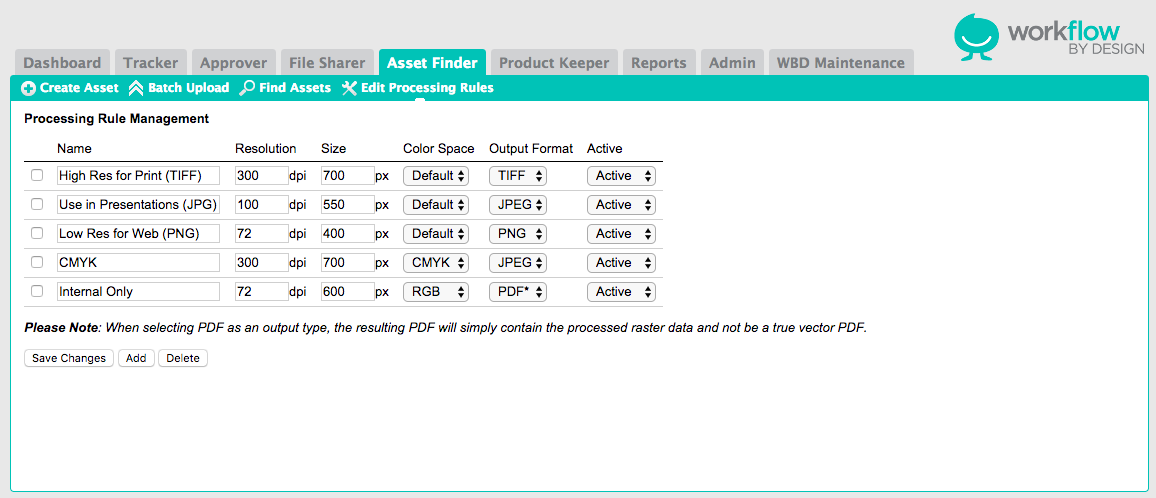
- From the Asset Manager page, select the Edit Processing Rules button. This will open the Processing Rules Management screen.
- Select the Add button under the list to add a new rule. This will create a new blank entry in the table.
- Enter necessary criteria for the processing rule.
- Name. This is the name that appears in the list when creating a file from the asset Master file. This will also be appended to the Master file name when the variant is downloaded by a user (i.e. MasterFileName_LoRes.jpg).
- Resolution. This determines the resolution of the file, and is measured using DPI.
- Size. This determines the canvas size of the file, measured in pixels. The processing system will match the longest dimension of the master to the size entered here. For example, if a file is 400x700px, and the processing rule is set at 500px, the file will be resized to 200x500px.
- Color Space. Select if the output file should be CMYK or RGB. The Default option will match the setting of the Master file.
- Output Format. Determine which type of file will be created. Note that when generating a PDF, it will be a raster file as opposed to true vector format.
- Active. This determines if the processing rule is visible and usable in the file processing window. If the rule is set to Inactive, it will not appear as a processing option for assets.
- Once all options have been set, select the Save Changes button at the bottom of the table to commit the changes to the system.
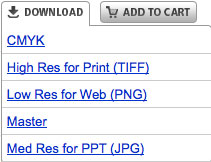
Here is a sample of processing rules applied to an asset.
Edit an Existing Processing Rule
To edit an existing processing rule, simply update any of the required settings for the rule and select the Save Changes button at the bottom of the table.
To delete an existing rule, click the check box to the left of the rule in the table and select the Delete button at the bottom of the table. The selected rule will be removed from the table.