Grid Import
Grid modules have a simple row and column format, similar to an excel spreadsheet. Users have the option to manually enter
data OR follow the steps detailed below for importing data into the tab automatically.
Start in the Tracker Module. Choose your project and navigate to a Grid Tab.
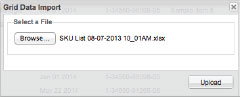
Choose a CSV file containing data to import.
*Note: Data within spreadsheet must be formatted properly for avoid errors.
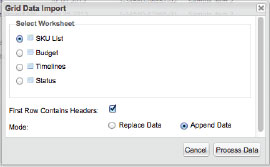
Next, select the import options.
Worksheet: Choose the correct tab within the spreadsheet to import.
Headers: Check if you would like to use the spreadsheet headers as reference.
Mode: Choose if the date being imported should REPLACE or APPEND to what already exists in the tab.
Then click Process Data button.
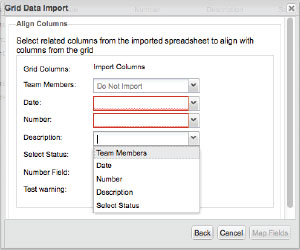
Map the Grid columns to spreadsheet columns.
Note: Required fields will be highlighted in red.
Headers will show in the dropdown list.
If no header, column letter will show.
Preview will showcase your data as it will appear in the tab. Any errors will be highlighted and listed at the bottom. You can choose to go BACK to fix mapping, CANCEL the import, or IMPORT data. Alerts will appear to verify import with any errors.
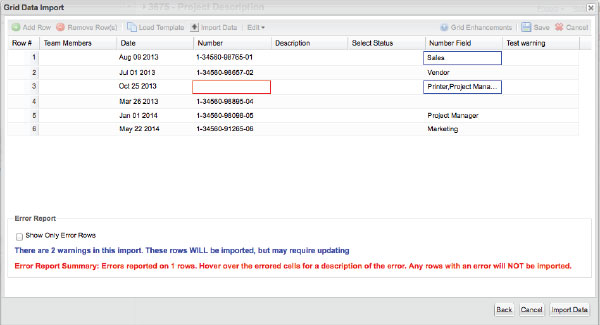
Types of Errors:

BLUE = warning (Data will import)
Warnings include:
- import data does not match select type
- incorrect mapping; ie: text to date field
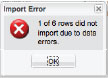
RED = error (Data will NOT import.)
Error includes:
- required field missing data
- data does not match options in field type
Workflow Rules for Grid Imports
• Match headers in spreadsheet to headers used in grid tab
• Date format in spreadsheet should be xx/xx/xxxx
• Text in spreadsheet should match options within each grid field.
• Hover over fields to see the values that are safe to import
• Check Show only Error Rows for navigating larger imports